11 Image Tools Online for Resizing, Compression, Conversion, and More
Nov 11, 2026
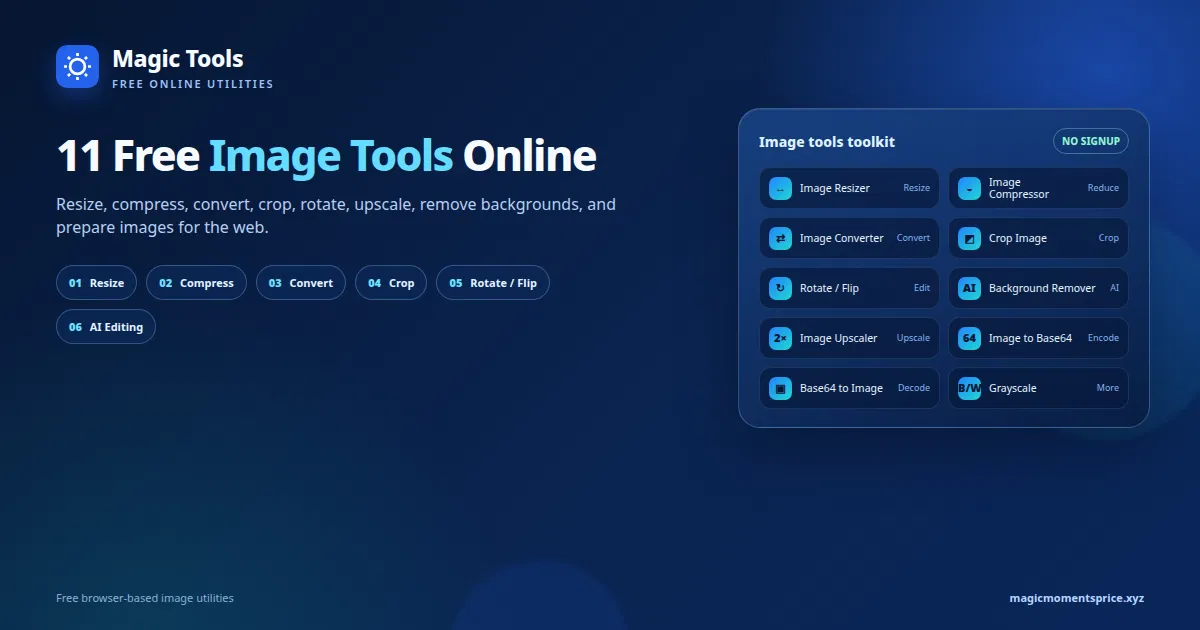
The 11 image tools to resize, compress, convert, crop, rotate, upscale, remove backgrounds, and prepare images for the web.
Need to resize a photo, reduce an image file, change its format, or remove a background? You may not need to install an editor for a quick job. Magic Tools' Image Tools category brings common image tasks into the browser, with no signup or installation required.
The category lists 11 tools covering resizing, compression, format conversion, cropping, rotation, background removal, upscaling, Base64 encoding, and grayscale editing. Most tools are aimed at one small task, which is useful when you want a quick result instead of a full image editor.
What can you do with these free image tools?
The short answer is: most everyday image jobs. You can change dimensions, reduce file size, convert between common formats, crop to a preset ratio, rotate or flip an image, and prepare images for websites or apps.
Some tools work locally in the browser, while AI tools may use a different processing path. The site generally states that files stay in the browser unless an AI feature is used. For private documents, client photos, or unreleased product images, check the site's Privacy Policy before uploading anything.
1. Image Resizer: change width and height quickly
Image Resizer is the right starting point when an image needs a specific width or height. It supports pixel-based resizing and a percentage option, with a Keep aspect ratio setting to help prevent accidental distortion.
The tool offers PNG, JPG, and WebP output formats. It also includes a quality control, with the initial setting shown at 90%, and accepts uploads up to 20 MB.
How to use Image Resizer
- Upload or drop an image into the tool.
- Enter the target width and height.
- Keep the aspect ratio option enabled if you want the image proportions preserved.
- Choose percentage resizing if you prefer scaling relative to the original.
- Select PNG, JPG, or WebP.
- Adjust quality if needed, then select Resize.
A useful tip: if you are preparing an image for a website, resize it close to the display size before uploading it. A huge image that is shown in a small card still takes longer to load.
2. Image Compressor: reduce file size without a full editor
Image Compressor is designed to make image files smaller. You can choose PNG, JPG, or WebP output, adjust quality, and set a maximum width.
The tool starts with quality at 70% and a maximum width of 1920 pixels. A maximum width of 0 means the original width is kept. The page also explains that PNG output is lossless, so the quality slider does not change PNG in the same way it changes JPG or WebP.
When should you use it?
Use Image Compressor before adding images to a blog, landing page, online store, or email. Smaller files usually upload faster and take less storage. Always preview the result, especially when the image contains small text, sharp product edges, or transparent details.
The upload limit is 20 MB. The tool does not promise a fixed percentage reduction because the final size depends on the original file, dimensions, format, and image content.
3. Image Converter: switch between PNG, JPG, and WebP
Image Converter converts an image to PNG, JPG, or WebP. It also includes a quality control and a background-color option for JPG output.
The JPG background setting matters when the original image contains transparency. JPG does not keep transparent pixels, so a background color gives those areas a predictable appearance.
Basic workflow
Upload the image, choose the output format, adjust quality, select a JPG background color if necessary, and click Convert. The page then provides a result to review and save. A PNG conversion flow showed a canvas preview and a Download PNG control during review.
If you are unsure which format to choose, PNG is a good fit for screenshots, simple graphics, and images where lossless quality matters. JPG is often useful for photographs. WebP can be a practical web format when your publishing system and target browsers support it.
4. Crop Image: focus on the part that matters
Crop Image lets you remove unwanted edges or prepare an image for a specific layout. It includes common presets such as Square 1:1, 4:3, 16:9, 9:16 story format, and 3:2.
You can also use custom X, Y, Width, and Height values. PNG, JPG, and WebP are available as output formats, along with a quality control.
Good uses for Crop Image
Crop a portrait for a profile card, prepare a landscape image for a blog header, create a square social image, or remove empty space around a subject. Presets are faster when you already know the destination shape. Custom values are better when you need precise control.
Keep the original file until you have checked the crop. A crop removes pixels permanently from the exported version, so it is worth checking the edges before publishing.
5. Rotate / Flip Image: fix orientation in seconds
Rotate / Flip Image handles simple orientation changes. You can rotate by 90 degrees clockwise, 180 degrees, or 90 degrees counter-clockwise. Horizontal and vertical flip options are also available.
The tool exports to PNG, JPG, or WebP and includes a quality setting. Uploads are limited to 20 MB.
This is handy for phone photos, scanned images, mirrored graphics, and product pictures that need a quick correction. It is also faster than opening a full editor just to turn an image sideways.
6. Background Remover: remove a background with AI
Background Remover uses AI to remove an image background. Upload an image, select Remove background, wait for processing, and review the result.
It is useful for product photos, profile images, simple graphics, and images that need to sit on a new design. The page states a 20 MB upload limit.
The tool does not currently describe a replacement-background editor. In other words, it focuses on removing the background rather than adding a new scene, color, or image behind the subject.
A note about privacy
Because this is an AI feature, the site's general browser-only processing statement may not apply in the same way as it does to a basic local edit. The page does not fully explain the AI provider, retention period, or deletion process. Avoid uploading confidential or sensitive images until you are comfortable with the site's data-handling terms.
7. Image Upscaler: enlarge an image with AI
Image Upscaler enlarges images with AI at 2x, 3x, or 4x scale. The documented output is a PNG, and the upload limit is 20 MB.
Upscaling can help when an image is too small for a larger display, but it cannot recover every detail that was never captured in the original. A 4x result may look bigger without looking genuinely sharper, especially when the source image is blurry or heavily compressed.
A practical upscaling workflow
Start with the smallest scale that meets your need. Compare the result at 100% zoom, check faces and text closely, and keep the original file. Larger scale settings may take longer to process, so 2x is a sensible first test for many images.
As with Background Remover, this is an AI tool. Review the privacy information before sending private images for processing.
8. Image to Base64: encode an image for a website or app
Image to Base64 converts an uploaded image into text. You can choose between a Data URI and Raw Base64.
A Data URI includes the information a browser needs to interpret the encoded image, including the media-type prefix. Raw Base64 is the encoded string without that wrapper. Developers may use either form in a prototype, HTML, CSS, JSON payload, or application workflow.
Which option should you choose?
Choose Data URI when you want a self-contained value that can be placed directly into a compatible HTML or CSS context. Choose Raw Base64 when your application already knows the image type and expects only the encoded data.
Base64 increases the amount of text compared with the original binary file, so it is not automatically the best choice for large images. For bigger assets, a normal image file and a proper URL are often easier to cache and manage.
9. Base64 to Image: turn encoded text back into an image
Base64 to Image works in the opposite direction. Paste a Data URI or Raw Base64 string into the input area and select Decode. The page describes PNG, JPG, and WebP support.
This can help when you are debugging a data URI, checking an API response, or turning encoded image data back into a file for review.
Be careful with long strings. Remove accidental quotation marks or extra wrapper text if the tool rejects the input. A valid Base64 string still needs the correct image data, and a malformed or truncated value cannot produce a usable image. During review, the tool remained in a Processing state for a test input, so users should verify that the result completes before relying on it.
10. Add Watermark to Image: listed, but currently unavailable
The Image Tools category lists an Add Watermark to Image utility. Its description says it should support text or logo watermarks, position and style controls, opacity, and output-format selection.
However, the listed /tool/watermark-image page returned a Tool Not Found screen during review. It should not be described as a working tool until the page is restored. If you need watermarking today, use a dedicated image editor or check the category page later for an updated link.
This is worth fixing on the site because a category card that leads to a 404 creates a poor experience and wastes an internal-link opportunity.
11. Image to Grayscale: also listed, but the page needs attention
The category also lists an Image to Grayscale utility, described as a way to convert a color image into a black-and-white image. You can check its current status from the Image Tools category.
During review, this URL returned a Tool Not Found page rather than a grayscale converter. There were no upload controls, grayscale settings, output format options, preview, or download action available.
The cleanest SEO fix is simple: either publish the working tool page with matching content, or remove the card and related links until the feature is ready. A live page with useful instructions is better than an indexed 404.
Which image tool should you use?
Choose the tool based on the job:
- Need exact width or height? Use Image Resizer.
- Need a smaller file for a website? Use Image Compressor.
- Need PNG, JPG, or WebP? Use Image Converter.
- Need a square, story, or custom crop? Use Crop Image.
- Need to turn or mirror a picture? Use Rotate / Flip Image.
- Need to remove a background? Use Background Remover.
- Need a larger AI-enhanced image? Use Image Upscaler.
- Need image data for code? Use Image to Base64.
- Need to preview encoded image data? Use Base64 to Image.
A simple image workflow for websites
A good workflow depends on the job, but this sequence works for many blog and website images:
- Crop the image to the shape your page needs.
- Resize it close to the size at which it will appear.
- Convert it to the format your site handles best.
- Compress the final file.
- Preview it on desktop and mobile before publishing.
- Keep the original somewhere safe.
For example, a blog hero image might be cropped to a wide ratio, resized to the theme's display width, converted to WebP, and compressed until the text and subject still look clear. Do not judge compression only by the file size. Open the final image and inspect it.
If the image contains a private document, customer information, or an unreleased product, read the Privacy Policy and Terms of Service first. AI tools deserve extra care because they may process uploads differently from local browser tools.
Are these image tools free?
Magic Tools presents its public Image Tools as free utilities with no signup and no installation. The category page states that uploads are limited to 20 MB and that AI-marked tools run when an AI key is configured.
Results can still vary by file type, browser, external service, and tool availability. Keep the original image, review every exported file, and do not treat an AI result as a perfect restoration or a guarantee of quality.
Final thoughts
Magic Tools' Image Tools collection covers most quick image jobs people run into while building a website or preparing content. Image Resizer, Image Compressor, Image Converter, Crop Image, and Rotate / Flip Image are the most straightforward choices for everyday editing. Background Remover and Image Upscaler are useful when AI processing fits the task. Image to Base64 and Base64 to Image serve a more technical audience.
The category will be stronger once the Watermark and Grayscale pages are restored, and once every tool shows a consistent result and download flow. Until then, choose a working page from the Image Tools category, keep your original file, and check the final output before publishing.
Frequently Asked Questions (FAQ'S)
What is the best free image tool for resizing?
Use Image Resizer when you need specific pixel dimensions, percentage scaling, or aspect-ratio control. Use Image Compressor instead when the main goal is to reduce file size.
Which image formats are supported?
Several tools offer PNG, JPG, and WebP output. The exact options depend on the tool. The pages often describe uploaded content generally as image files, so check the individual tool before relying on a less common format.
Can I compress an image without changing its dimensions?
Yes. In Image Compressor, set the maximum width to 0 to keep the original width, then adjust the output format and quality. The final file size will still depend on the image and selected format.
Are the AI image tools private?
The site says files stay in the browser unless an AI feature is used. Background Remover and Image Upscaler are AI tools, so do not upload sensitive images without first reviewing the Privacy Policy and understanding how AI processing is handled.
Can I use these tools without an account?
Yes. Magic Tools presents the public Image Tools collection as usable without signup or installation.
Why do Watermark and Grayscale show as tools if their pages are missing?
The category currently lists both tools, but their individual URLs returned a Tool Not Found page during review. The site owner should restore the pages or remove the links until the tools are available.
Is Base64 better than a normal image file?
Not always. Base64 is handy when an application needs text or an embedded Data URI. Normal image files are usually easier to cache, store, and serve for larger website assets.